Parts: Create, Edit and Clone
Sytewise Parts are attached to Fixtures. A parts list is associated with fixtures. To create a new part:
- Go the the Fixture that will have the part being created.
- In the right column below the Fixture details and click "New Part"
- Fill out the form and click "Save".
Parts have the following attributes.
- A Part Number: (Required, 60 characters) You can use a serial number or something descriptive. Both the Part Number and Description appear on the part list on the fixture page so descriptions can be confined to the description field
- Description: (Required) Here is where you give useful descriptive text like Fan Belt.
- Installed Date: (Required) Default: day the part was entered. You can change this to an earlier date if the part was installed at a different time.
- Position: (Optional, 12 characters) A short description of the location of the part on the fixture: "Front", "Left", "Top" or simply "A" works. This field sorts the parts list after Part Number and Description.
- Model Number: (Optional, 80 characters)
- Warranty Expiration Date: (Optional) If a warranty is applicable, enter the expiration date.
- Warranty Description: (Optional) Who services the warranty or other terms.
- Table Details: (Optional) use this field to create a table of additional data if needed. Each table row per line. Column breaks with commas.
Parts are either Status “On” or “Off”
Admins can change the status of any part simply by clicking the green or red toggle. Once you've changed the all the part statuses make sure to click "Save" at the top of the list.
Surveys and Work Orders can affect changes to parts statuses as well.
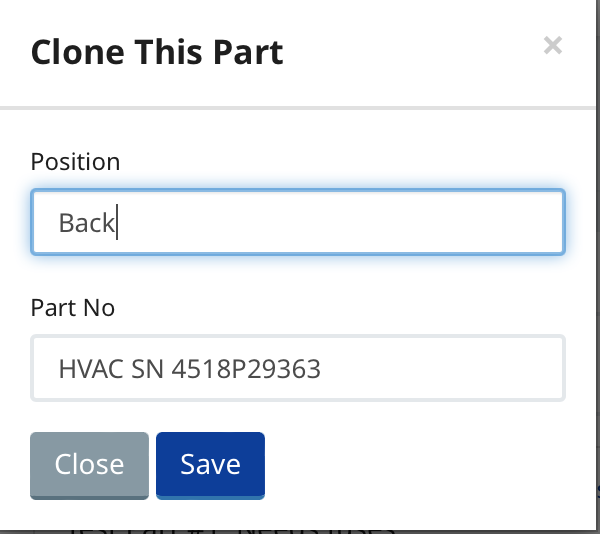
Cloning Parts
You can clone any part already created in your account. This may come in handy if you have redundant parts, especially ones with a lot of detail. Cloning parts places the cloned part within the original Fixture. To copy a part (or a select set of parts) into another fixture look into create a Library of that part (or parts) to reuse elsewhere.


