Creating a Work Order
Work orders are easy to create in Sytewise. Each Work Order is specific to a Property and a Trade. Watch this video or check out the step-by-step instructions below.
Create a Work Order
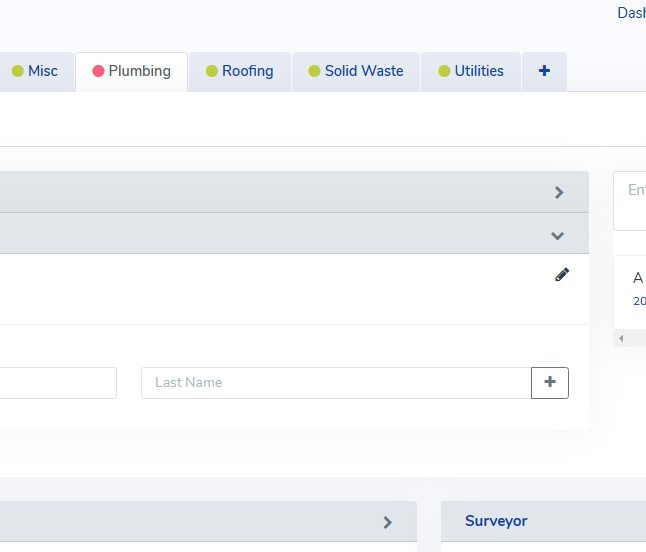
- Select a Property and Trade
- Make Sure the Fixture is selected as Needing Service.
- Open the Work Order Menu
- Add the Title/Description
- Select the Due Date
- Select the Vendor
- Select the Fixture/Fixtures
- Enter the Instructions to your Vendor
- Select the Correct Emails For Delivery and Click Save
- See New Work Order Number
- Verify email has been delivered
Select a Property and Trade
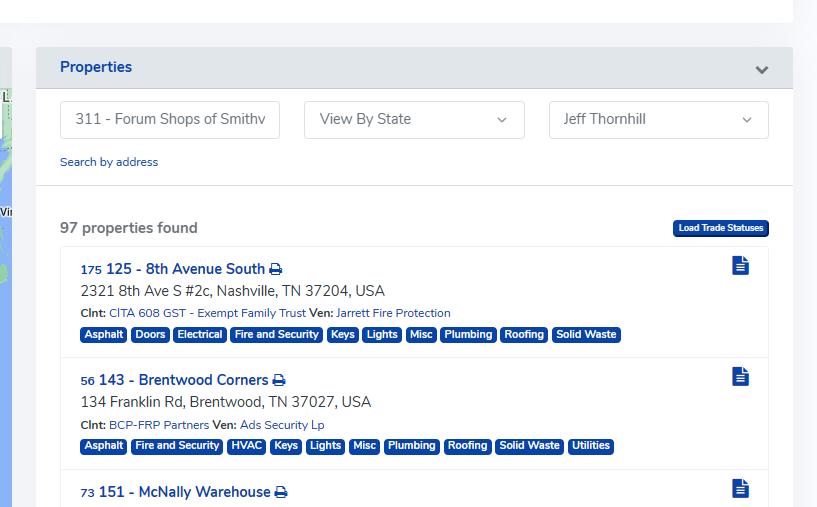
Choose a Property by selecting it in either the Dashboard or Property Page list of Properties.
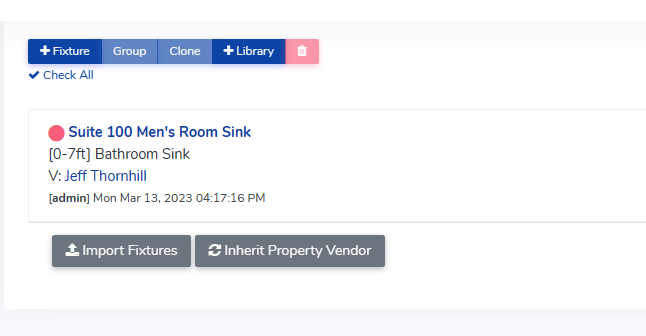
Make Sure the Fixture/Parts are selected as Needing Service
Once on the property page, look in the list of fixtures to find the right Fixture and make sure the toggle switch shows as red. This indicates that the part nees service. If this fixture is part of a Survey, the Surveyor may have turned the service indicator from Green to Red Already. Once all of the Fixtures you wish to place on a work order have the status indicator as red, you can return to the Property Menu.
Open the Work Order Menu
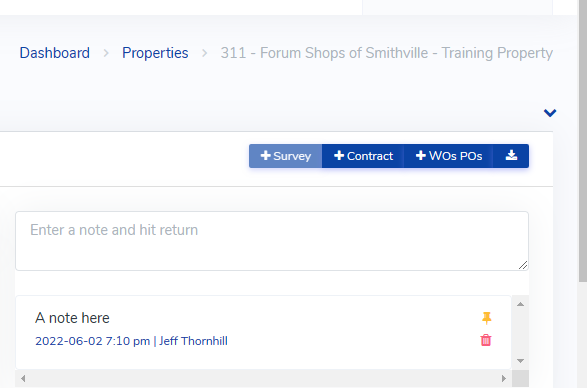
In the upper right corner you will find a button for Work Order / Purchase Order. Click this button to open the Work Order form.
Add the Title / Description
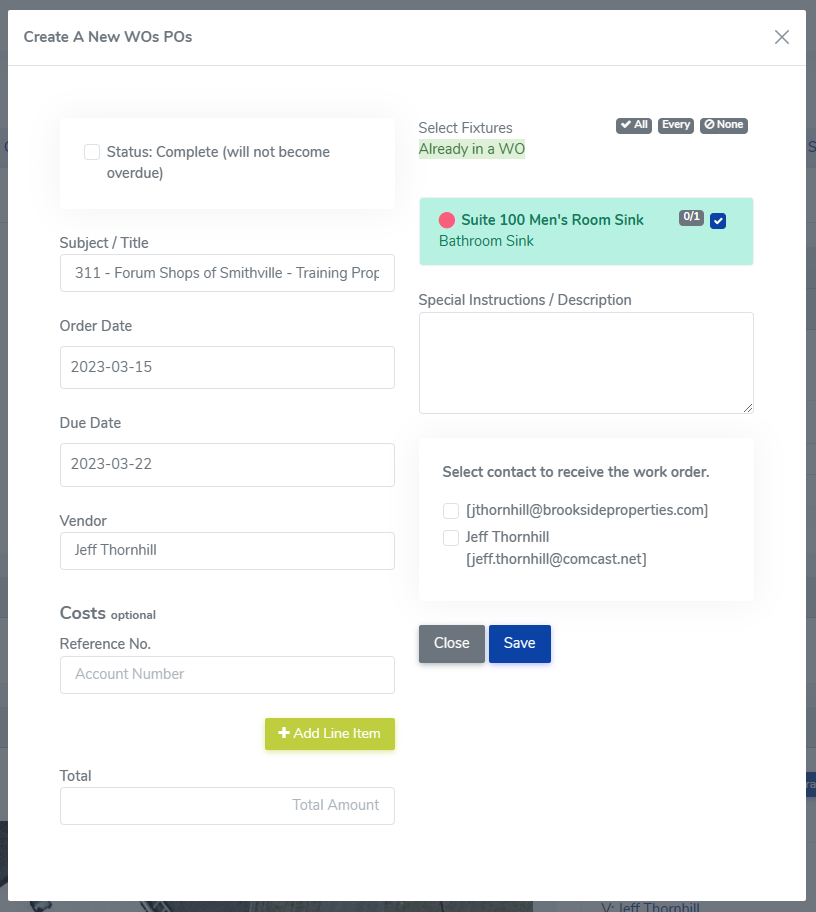
When you open the Work Order form you will notice the Title / Description is prefilled with the name of the property. Enter the Name of the Work Order here. This will become part of the Email that is delivered to your Vendor. To make sure you are able to search easily for this work order later it is good to add words that identify the suite number, trade, and specific fixture if only one. Something like, Suite 100 - Dollar General Men's Room Sink has a Plumbing Leak. For more information on best practices for naming work orders click here.
Select the Due Date
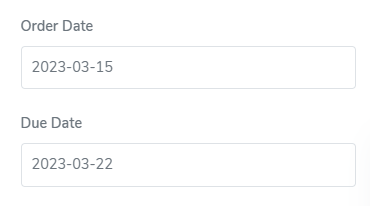
Both Date Fields have dates entered. The Creation Date has the current date. The Due Date is prefilled with one week from the date of creation. Of course, this won't work for every scenario, so replace the prefilled date with the date that works for you. You can select a new date by clicking on the calendar. Or if you are like me, just type the new date in the field. either one works.
Select the Vendor
The default vendor for this trade and this property will already be entered into the Vendor field. This may be the vendor you want to use. In that case, don't do anything. If you want to change the vendor for this particular work, just start typing the name of the vendor in the Vendor field. You will want to highlight the prefilled vendor name and then just start typing. A list of vendors will appear. As you continue, the list of vendors will shorten. Keep typing until you see your vendor and then select with your cursor.
Select the Fixtures / Fixtures for this Work Order
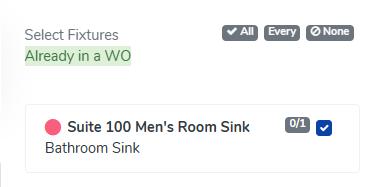
This work order is going to be sent to a particular Vendor so, even if there are several fixtures that need repair, only select the fixtures that are going to be serviced by the vendor you've selected for this work order. You can click on the None button at the top right of the Work Order Form to deselect all Fixtures. You can click on the All button to show all the Fixtures in this trade, even if their status hasn't been changed from red to green. Click the box to the right of each fixture to add that fixture to this work order.
Enter the Instructions to your Vendor
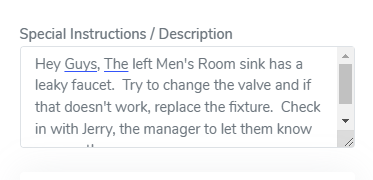
This is where you can get very specific about the work you want performed. Don't leave anything to interpretation. Get specific with your instructions so your vendor knows exactly how you want the work performed and what the end result needs to be. If you have drawings or plans that would be helpful, you can attach them to the fixture and the Vendor will receive them with the Work Order.
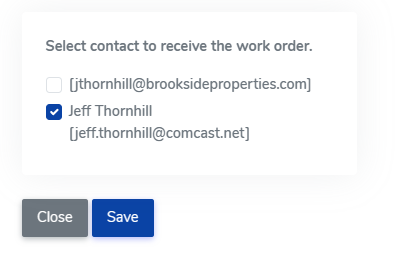
Select the Correct Emails for Delivery and Click Save
Every Vendor can have multiple contacts. Every contact with an email address in their profile will be listed just below the instructions. You can send the work order to multiple people or just one person. Here's where you select the recipients for this particular work order. Once you've selected all recipients, just click Save and your email is on the way.
See the new Work Order Number
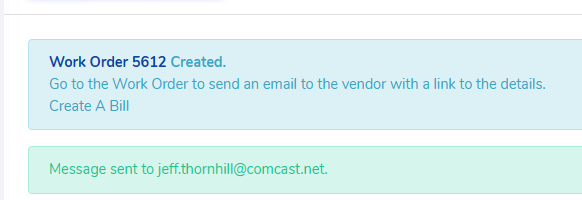
Once the Work Order Form disappears you will see the new Work Order number in the banner and a message regarding the success of the email delivery. Click on the work order number to see the Admin version of the Work Order.
Verify Work Order Email was Delivered
Once you click Send on the work order, you will get an automatic notice if the email was successfully delivered. If you need to see a verification of the email, look at the bottom of the work order page and you will see a list of every email that was delivered on behalf of this work order.

